How to keep homemade granola crunchy after it cools
· Editorial team newsfromatlanta24.com
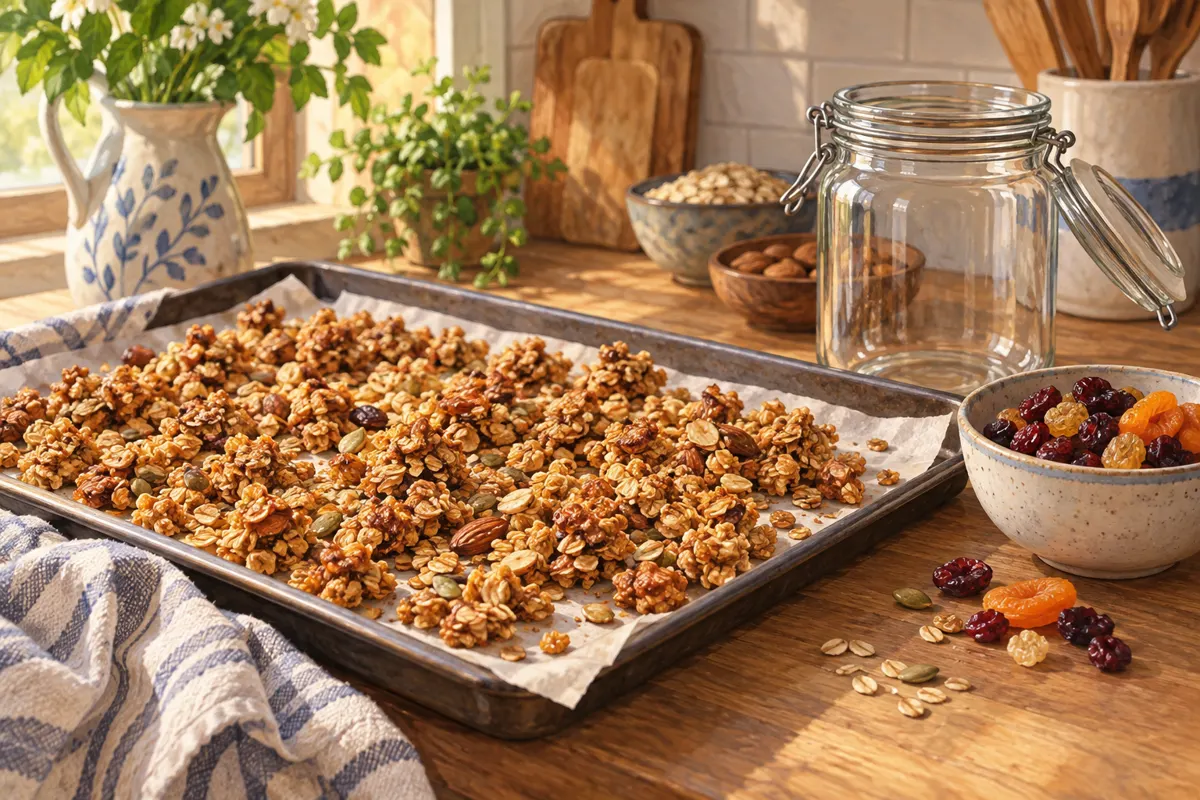
To keep homemade granola crunchy, spread it evenly before baking, let it cool completely on the baking sheet, and pack it into a clean, dry, airtight container. Add dried fruit after baking, preferably once the granola has cooled. Judge the final texture when it is cool: warm granola can still feel soft even when it has baked enough.
Spread an even layer before baking
Crunchy granola starts with an evenly baked batch. Mix the wet ingredients thoroughly through the oats, nuts, and seeds, then spread the mixture across a lined baking sheet. Keep the thickness consistent so that a mound in the middle does not lag behind thinner edges.
- Use a baking sheet that accommodates the mixture without deep piles.
- Level the surface with a spatula, paying attention to the corners and edges.
- For clusters, press the mixture gently into a uniform layer.
- Follow your recipe’s stirring instructions, then spread the mixture evenly again after stirring.
Avoid scattering a small batch too thinly across a large pan: exposed individual oats can brown quickly. Aim for an even layer with enough contact between the ingredients to form the clusters you want.
Let cooling finish the crunch
Granola firms up as it cools on the baking sheet. Do not keep baking solely because it feels soft while hot; waiting for a fully crunchy texture in the oven can leave you with overly browned oats or nuts. Use your recipe’s timing and color cues, then assess a cooled piece.
- Remove the baking sheet when the granola reaches the doneness described in your recipe.
- Leave the granola uncovered on the sheet until it is completely cool.
- If you want larger clusters, leave the layer mostly undisturbed while it cools.
- Break the cooled granola into pieces, then check its texture before packing.
Do not rely on a fixed cooling time. The amount of granola, the pan, and the room affect how quickly it loses heat. Before closing a container, check the middle of the batch as well as the edges. Trapped warmth can create condensation and soften the oats.
Add dried fruit after baking
Keep raisins, dried cranberries, chopped apricots, and other dried fruit out of the oven unless your recipe specifically directs otherwise. The Kitchn recommends adding dried fruit after baking. For a straightforward routine, let the oat mixture cool first, then fold in the fruit.
Dried fruit provides a chewy contrast, so a batch containing it will not feel uniformly crisp. If preserving the crunch of the oats is your priority, an editorial proposal is to store the fruit separately and add it to each serving. This also lets everyone choose their preferred balance of fruit and clusters.
Choose a dry container with a tight seal
Once the granola is completely cool, transfer it to an airtight container. A glass jar or food-storage tub can work; the useful feature is a lid that closes securely. Check that a freshly washed container and its lid are fully dry before filling them.
- Keep the container in a cool, dry cupboard, away from steam and direct heat.
- Close the lid promptly after taking a portion.
- Use a dry spoon or scoop.
- Keep yogurt, milk, and fresh fruit out of the storage container; add them to the serving bowl.
Check where softness starts
The timing of the problem helps you choose the next adjustment. If granola is soft while warm but crisp once cool, cooling is doing its job. If the center stays softer than the edges, check whether the layer was uneven. If it starts crisp and softens after storage, check for residual warmth, a damp container, or a loose lid.
For the next batch, change the step that matches the problem rather than automatically extending the bake. An even layer, complete cooling, and a secure, dry container make a simple routine you can repeat without chasing crunch by browning the granola too far.